
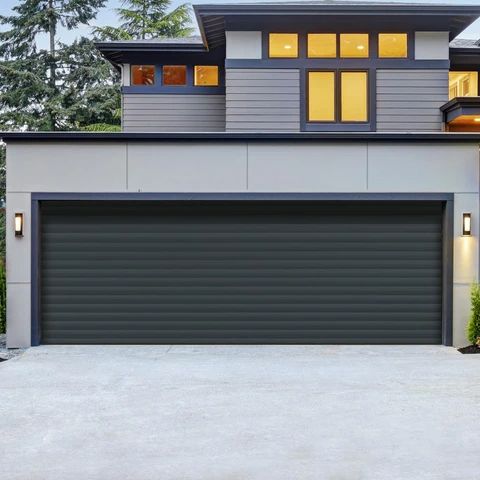
As a homeowner, I’ve had my fair share of experiences with garage door issues. One common problem that many of us face is when the garage door doesn’t open or close all the way. If you’ve encountered this frustrating situation, you might need to adjust your garage door opener’s limit switches.
In this article, I’ll share my personal journey of learning how to adjust these switches and provide you with a comprehensive DIY guide to tackle the task based from Mckinney Overhead & Garage Doors.
Understanding the Garage Door Opener Limit Switches
Before we dive into the adjustment process, it’s essential to grasp the role of limit switches in your garage door opener. Limit switches are safety mechanisms that determine how far the garage door should open or close. When these switches are misaligned or improperly set, it can result in the door not reaching its intended position, leading to inconvenience and potential safety hazards.
Safety First
As with any DIY project involving electricity and moving parts, safety should always be your top priority. Before starting, make sure to:
- Disconnect Power: Unplug the garage door opener from the electrical outlet or turn off the power at the circuit breaker. This step is crucial to prevent accidental activation of the opener during the adjustment process.
- Clear the Area: Ensure the garage door and its surroundings are clear of any obstructions or hazards that could cause accidents.
- Wear Safety Gear: Put on safety goggles and gloves to protect your eyes and hands.
Tools and Materials You’ll Need
To adjust your garage door opener’s limit switches, gather the following tools and materials:
- Screwdriver: You’ll likely need a screwdriver to access and make adjustments to the switches.
- Ladder: A sturdy ladder will be necessary to reach the limit switch controls.
- Marker or Tape: You’ll need this to mark the initial position of the switches before making adjustments.
- Owner’s Manual: Your garage door opener’s manual is a valuable resource, as it may contain specific instructions for your model.
Step 1: Locate the Limit Switches
- Find the Controls: The limit switches are usually located on the side or rear of the garage door opener unit. They may be labeled “Up Limit” and “Down Limit” or something similar.
- Mark the Initial Position: Use a marker or tape to mark the initial position of the limit switches. This serves as a reference point in case you need to revert to the original settings.
Step 2: Adjusting the Up Limit Switch
- Access the Up Limit Switch: Use a ladder to reach the limit switch controls. Locate the “Up Limit” switch, which is responsible for determining how far the garage door opens.
- Make Small Adjustments: With a screwdriver, make small adjustments to the “Up Limit” switch. Turn it in the direction that will increase the door’s travel distance if you want the door to open further, or decrease it if you want the door to open less.
- Test the Door: After each adjustment, reconnect power to the garage door opener and test it by pressing the remote control or wall-mounted button. Observe the door’s movement and verify if it reaches the desired open position.
- Repeat as Needed: Continue making slight adjustments and testing until the door opens to your preferred height. Remember to use caution, as over-adjusting can cause the door to open too far or even damage the opener.
Step 3: Adjusting the Down Limit Switch
- Access the Down Limit Switch: Locate the “Down Limit” switch, which controls how far the garage door closes. Use your ladder to reach this switch.
- Make Small Adjustments: Like with the “Up Limit” switch, use the screwdriver to make small adjustments to the “Down Limit” switch. Turn it to increase or decrease the door’s closing distance as needed.
- Test the Door: Reconnect power and test the garage door’s closing action. Ensure it stops at the desired position without hitting the floor or reversing prematurely.
- Repeat as Needed: Just as with the “Up Limit” switch, continue making small adjustments and testing until you achieve the desired closing position.
Step 4: Final Testing and Fine-Tuning
- Operate the Door: After adjusting both the “Up Limit” and “Down Limit” switches, test the garage door thoroughly to ensure it opens and closes correctly. Pay close attention to any unusual noises or signs of misalignment.
- Revert to Initial Settings (if necessary): If you encounter any issues during testing or if the door doesn’t behave as expected, you can always refer to the initial marks you made and revert to the original settings.
Conclusion
Adjusting your garage door opener’s limit switches might seem like a daunting task, but with the right approach, it’s a manageable DIY project that can save you both time and money. My experience with this task taught me that patience and small, incremental adjustments are key to achieving the desired door position.
Remember, safety should always come first. Ensure the power is disconnected, clear the area, and wear protective gear. Consult your garage door opener’s manual for specific instructions and guidelines, as different models may have unique adjustment mechanisms.
In summary, by following this comprehensive DIY guide from Mckinney Overhead & Garage Doors, you can take control of your garage door’s travel distance, ensuring it opens and closes to the precise positions you need. A well-adjusted garage door not only enhances convenience but also contributes to the safety and security of your home.
Mckinney Overhead & Garage Doors
3804 Landsdowne Dr, McKinney, TX 75072, United States
972-848-7414