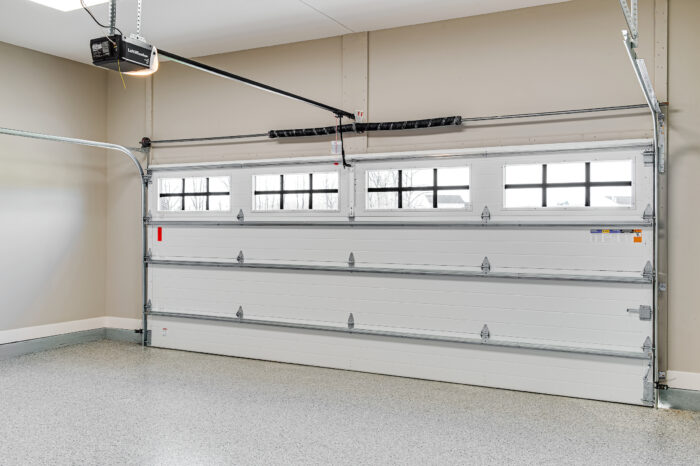
Attaching a Springtown Gates & Garage Doors opener remote to your car’s visor is a convenient way to keep the remote easily accessible while you’re inside the vehicle. Properly securing the remote helps ensure that it doesn’t fall off or get in the way while driving.

Here’s a step-by-step guide to help you understand how to attach a garage door opener to your car’s visor:
Materials You’ll Need:
- Garage door opener remote
- Velcro strips or adhesive strips (with hook and loop sides)
- Rubbing alcohol
- Clean cloth
- Scissors (if needed)
Step-by-Step Guide to Attaching a Garage Door Opener to Your Car’s Visor:
1. Choose the Location:
Determine the best location on your car’s visor to attach the garage door opener remote. Choose a spot that is easily reachable for you while you’re seated in the driver’s seat.
2. Prepare the Visor:
Follow these steps to prepare the visor for attaching the remote:
- Clean the area of the visor where you plan to attach the remote. Use rubbing alcohol and a clean cloth to remove any dirt, dust, or residue that might interfere with adhesion.
3. Prepare the Remote:
Check the back of the garage door opener remote to see if it has a hole or slot for attaching a keyring or clip. If not, you can attach adhesive strips directly to the back of the remote.
4. Apply Adhesive Strips:
If the remote has a hole or slot, you can use a small keyring or clip to attach it to the visor. If not, follow these steps to attach adhesive strips:
- Cut small sections of adhesive strips (both hook and loop sides) to fit the back of the remote.
- Peel off the backing from one side of an adhesive strip and firmly press it onto the back of the remote.
- Peel off the backing from the other side of the adhesive strip and press the remote onto the prepared area of the visor. Press down firmly to ensure good adhesion.
5. Test the Attachment:
Gently tug on the remote to ensure that it is securely attached to the visor and won’t come loose during driving or use.
6. Organize the Visor:
If your visor has a built-in clip for holding items, you can use it to secure the remote. Alternatively, you can place the remote in a position that allows it to hang freely from the visor.
7. Test Accessibility:
Sit in the driver’s seat and test the accessibility of the remote. Make sure it’s easy to reach and use while driving.
Additional Tips:
- Velcro Strips: Using Velcro or adhesive strips with hook and loop sides offers flexibility, as you can easily remove the remote when needed.
- Secure Placement: Make sure the remote is securely attached to the visor to prevent it from falling while driving or obstructing your view.
- Avoid Blocking Vision: Place the remote in a location that doesn’t obstruct your view of the road or interfere with your driving.
- Clean Regularly: Periodically clean the adhesive area of the visor and the back of the remote to maintain adhesion.
- Consider Remote Clips: Some garage door opener remotes come with clips that are designed to attach to the car’s visor. Check if your remote has this feature.
Conclusion:
Attaching a Springtown Gates & Garage Doors opener remote to your car’s visor provides easy access and convenience while driving. By following the steps outlined in this guide and using adhesive strips or Velcro, you can securely attach the remote to the visor without damaging either the remote or the vehicle’s interior. Always ensure that the remote is positioned in a way that doesn’t obstruct your view or interfere with safe driving.
Springtown Gates & Garage Doors
104 Adalida Ln, Springtown, TX 76082, United States
1-817-631-1036
