
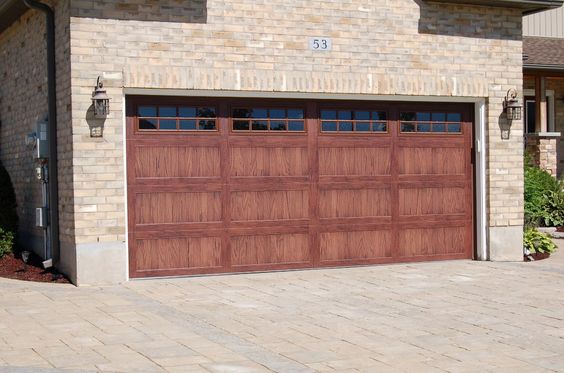
Your garage door is a critical part of your home’s functionality and security. When it starts to show signs of misalignment or becomes crooked, it’s not just a visual issue but a safety concern as well. I recently encountered a situation where my garage door became crooked, and I decided to tackle the problem head-on.
I’ll share my personal journey, insights, and a step-by-step guide on how to fix a crooked garage door, ultimately restoring its proper alignment and ensuring the safety of my home by following Garage Door Repair Anaheim CA.
Understanding the Significance of a Straight Garage Door
Before we delve into the process of fixing a crooked garage door, it’s crucial to understand why it’s essential:
- Safety: A crooked garage door can be hazardous. It’s at risk of falling off its tracks, posing a threat to people, pets, and property.
- Security: A misaligned garage door may not close or lock properly, leaving your home vulnerable to intruders.
- Functionality: A crooked garage door often experiences difficulties in opening and closing, which can be frustrating and inconvenient.
Step 1: Diagnose the Problem
The first step in resolving a crooked garage door is identifying the root cause. Common reasons for a crooked door include:
- Obstructed Tracks: Objects or debris in the tracks can disrupt the door’s movement.
- Worn-Out Rollers: Over time, rollers can wear down, leading to a misalignment.
- Loose Hardware: Nuts, bolts, and other hardware may become loose and cause misalignment.
- Track Misalignment: Tracks can become bent or misaligned, preventing the door from moving smoothly.
- Spring Issues: Problems with the garage door springs can lead to uneven lifting.
Step 2: Gather the Necessary Tools and Materials
To fix a crooked garage door, you’ll need the following tools and materials:
- Wrenches: Various sizes of wrenches for tightening nuts and bolts.
- Lubricant: Lubricant for the garage door tracks, rollers, and hinges.
- Screwdriver: A screwdriver for tightening screws and adjusting components.
- Safety Gear: Safety goggles and gloves are essential to protect your eyes and hands during the repair process.
Step 3: Safety Preparations
Safety should always be a top priority when working on any DIY project, especially one involving a heavy garage door. Here’s how I prepared for a safe working environment:
- Disconnect the Power: The first thing I did was disconnect the power to the automatic garage door opener by unplugging it from the electrical outlet or turning off the circuit breaker that supplies power to it. This ensures the door won’t accidentally activate during the repair.
- Secure the Door: I used locking pliers or c-clamps to secure the garage door in place, preventing any unexpected movement while I worked on it.
Step 4: Clear the Tracks and Lubricate
Often, a crooked garage door is a result of debris or obstructions in the tracks. Here’s what I did to address this:
- Clear Debris: I carefully inspected the tracks and removed any objects or debris that might be causing the misalignment.
- Lubricate: After cleaning the tracks, I applied a silicone-based lubricant to ensure smooth movement.
Step 5: Tighten Loose Hardware
Loose nuts, bolts, and screws can lead to a crooked garage door. I followed these steps to address this issue:
- Inspect Hardware: I examined all the nuts, bolts, and screws in the garage door and its hardware, including the tracks and brackets.
- Tighten: Using the appropriate wrench or screwdriver, I tightened any loose hardware. Be careful not to overtighten, as this can lead to other issues.
Step 6: Adjust the Tracks
If the tracks themselves are misaligned, they can be a common source of a crooked garage door. Here’s how I adjusted them:
- Loosen Bolts: I loosened the bolts holding the tracks in place.
- Align the Tracks: Gently nudging the tracks with a rubber mallet, I ensured they were properly aligned and level.
- Tighten Bolts: Once the tracks were in the correct position, I tightened the bolts.
Step 7: Inspect and Replace Rollers
Worn-out or damaged rollers can lead to misalignment. I followed these steps to inspect and replace them:
- Inspect Rollers: I examined the condition of the rollers, looking for signs of wear, damage, or bending.
- Replace Rollers: If any rollers were damaged or worn, I replaced them with new ones. It’s essential to use rollers of the same size and type.
Step 8: Check the Springs
Garage door springs play a crucial role in lifting and lowering the door evenly. If they’re not functioning correctly, it can result in a crooked door. Here’s what I did:
- Examine Springs: I inspected the springs for any signs of wear, rust, or damage.
- Replace Springs: If the springs were problematic, I replaced them. It’s crucial to use the appropriate springs for your specific garage door.
Step 9: Test the Door
After making the necessary adjustments and repairs, I tested the garage door to ensure it was functioning correctly and moving smoothly. I operated it both manually and using the automatic opener to confirm its alignment.
Additional Tips for a Successful Repair
Here are some additional tips and insights to ensure a successful garage door alignment repair:
- Regular Maintenance: Periodically inspect your garage door to catch issues before they become major problems. Regular maintenance can prevent misalignment.
- Safety Cables: If you have extension springs, consider installing safety cables. These prevent the spring from becoming a projectile in case it breaks.
- Professional Help: If you’re unsure about the repair process or encounter difficulties, it’s best to consult a professional garage door technician.
My Personal Experience: A Straight and Functional Garage Door
Addressing the crooked garage door not only restored its proper alignment but also provided peace of mind. Here’s how it impacted my daily life:
- Smooth Operation: The garage door now opens and closes smoothly and evenly, eliminating any safety concerns.
- Security: With a correctly aligned door, my home’s security is enhanced, preventing unauthorized access.
- Convenience: The convenience of a fully functional garage door adds ease to my daily routine.
In conclusion, according to Garage Door Repair Anaheim CA, fixing a crooked garage door is an achievable DIY project that can save you money and ensure the safety and functionality of your home. My experience has shown that with the right tools, materials, and safety precautions, you can successfully address this issue, providing peace of mind and security for your home and family.
Denzel Garage Door of Anaheim
623 N Lemon St, Anaheim, CA 92805, United States
714-410-2557