
Replacing a Garage Door Repair Southlake TX may seem like a daunting task, but with the right tools, materials, and a clear plan, it can be a manageable DIY project.
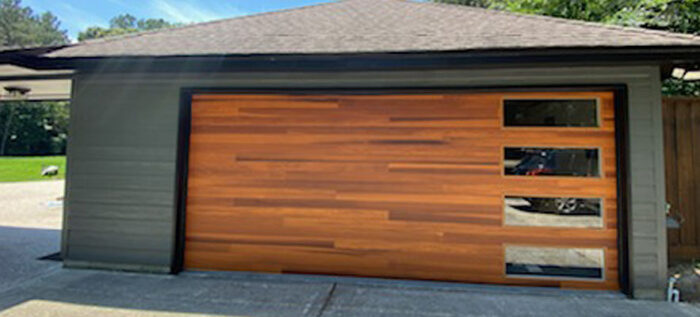
A new garage door can enhance your home’s curb appeal, improve security, and increase energy efficiency. In this comprehensive guide, we’ll walk you through the process of replacing your garage door step by step.
: Gather Your Tools and Materials
Before you begin, make sure you have all the necessary tools and materials:
- New garage door and hardware kit
- Tape measure
- Level
- Screwdriver
- Wrench
- Sawhorses
- Safety glasses
- Hammer
- Nails and screws
- Drill with masonry bit (if attaching to a masonry wall)
: Measure and Prepare
Measure your existing garage door carefully to ensure you purchase the correct size replacement. Take measurements of the width, height, and thickness. Additionally, measure the space between the door opening and the ceiling.
: Remove the Old Door
To remove the old garage door, follow these steps:
- Disconnect the garage door opener from the power source.
- Release the tension on the garage door springs using a wrench.
- Remove the brackets and hardware securing the door to the tracks.
- Carefully lift the door off the tracks with the help of a friend.
: Prepare the Opening
Inspect the opening for any damage or rot. Repair any issues before proceeding. Next, clean the area to ensure a smooth installation. Install weatherstripping along the bottom of the opening to prevent drafts and moisture infiltration.
: Install the Tracks and Hardware
Follow the manufacturer’s instructions to install the vertical and horizontal tracks. Make sure they are level and secure them with screws. Attach the hinges to the door panels, following the manufacturer’s guidelines. Then, attach the rollers to the hinges.
: Hang the Door Panels
With the help of a friend, carefully lift the door panels into place one at a time. Secure them to the tracks and each other using the provided hardware. Ensure that the panels are level and plumb as you go.
: Install the Springs
Follow the manufacturer’s instructions to install the torsion springs or extension springs, depending on your door type. Be extremely cautious when working with springs, as they are under high tension and can be dangerous if mishandled.
: Attach the Cables and Pulleys
Attach the lifting cables to the bottom of the door and thread them through the pulleys. Connect the cables to the bottom bracket and secure them tightly.
: Install the Garage Door Opener
If you’re installing a new garage door opener, follow the manufacturer’s instructions carefully. Ensure that the opener is securely fastened to the ceiling and that the drive system is properly connected to the door.
: Test and Adjust
Test the garage door to ensure it opens and closes smoothly. Make any necessary adjustments to the springs, cables, and tracks to ensure proper operation. Lubricate all moving parts as recommended by the manufacturer.
: Final Touches
Seal any gaps around the door with weatherstripping to improve insulation and weatherproofing. Paint or stain the door if necessary to match your home’s aesthetics.
: Safety First
Remember that garage doors can be heavy and pose safety risks. Always follow safety guidelines and consider consulting a professional if you’re unsure about any aspect of the installation.
Conclusion:
Replacing a Garage Door Repair Southlake TX can be a rewarding DIY project that enhances your home’s appearance and functionality. By carefully following these steps and adhering to safety precautions, you can successfully replace your garage door and enjoy the benefits of a fresh, secure, and energy-efficient entrance to your home.
Southlake Garage Door & Gate Repairs
817-587-0445